

3/4″ PVC Pipe – you can purchase this in all different lengths, you just want to get one at least as long as your Drinking Post. So if you have an 8 ft. Drinking Post, you will want to get a 3/4″ PVC pipe that is at least 8 ft. long.
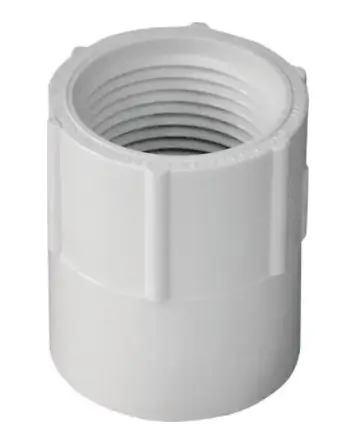
3/4″ PVC Female Fitting – this is what you will attach to the bottom of the 3/4″ PVC pipe so you can thread it onto the open nipple at the base of the exterior.
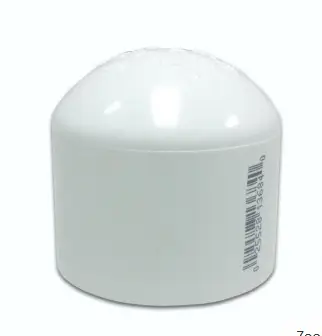
3/4″ PVC Cap – this will cap the top of the 3/4″ PVC pipe so the water cannot shoot out when you turn it back on.

PVC Purple Primer and Cement – Once you purchase the three PVC parts needed to create the makeshift cap, you will need to get PVC primer and glue to adhere everything together.
If you do not adhere them together, they will not hold when you turn your water on.
Follow the instructions on the PVC primer and glue to assemble.
You will glue the 3/4" threaded fitting on one end and the cap on the other end.
Once it’s dry, you will put your newly created waterline cap into your exterior sleeve and thread it on to the open nipple, just like you would do with your Drinking Post interior.
Once this is complete you can turn your water back on and have use of all other faucets, hydrants, and waterers while you perform maintenance on this single Drinking Post interior.